Quick tutorial - removing an object from photo
Step by step tutorial that will show you how you can quickly and easily remove unwanted objects from your photos using Photoupz. You can see our FAQ as well.
Step 1.
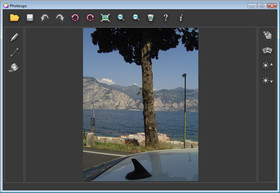
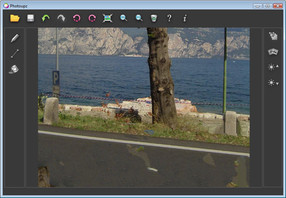
Open Photoupz and load an image. Notice how the car roof blocks the view in this photo.
Step 2.
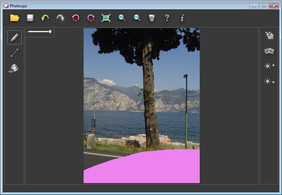
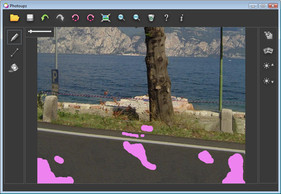
Select the Inpaint Marker icon from the menu, and carefuly mark the unwanted objects which you want to erase from the photo. In this image we mark the car roof.
Step 3.
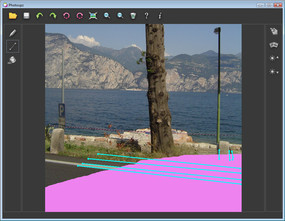
Use the guiding line tool to control the filling process. Place a guiding line extending a background edge which should continue through the marked area. Place each guiding line such that it captures a lot of visual information behind the marked area - this will be used to complete the edge inside the marked area.
Tip: Double-click to end one guiding line and start a new one.
Tip: Double-click to end one guiding line and start a new one.
Step 4.
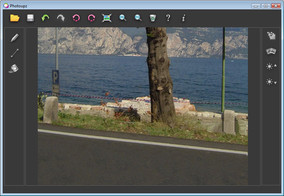
Click the inpaint button, and the car roof will be erased from the image. If there are some visual artifacts in the new picture, mark them again and repeat the inpainting process.
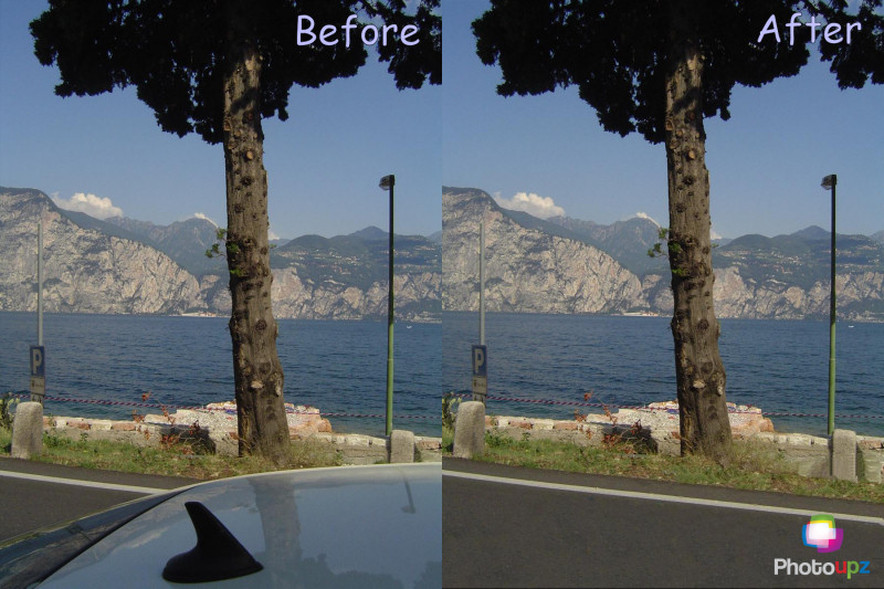
Here's the final result:
The whole process takes only about 2 minutes.

