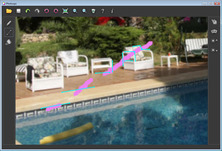
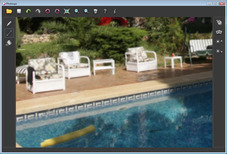
Tutorial - How to remove watermark from picture
In this tutorial, we'll learn howto use Photoupz to erase watermark from a photo.
Watermark is a text, logo or shapes obstructing a part of an image. We'd like to reconstruct the original image.
Please keep in mind that watermarks can be used to protect copyrighted images. Always make sure you own proper copyright rights to photos.
Watermark is a text, logo or shapes obstructing a part of an image. We'd like to reconstruct the original image.
Please keep in mind that watermarks can be used to protect copyrighted images. Always make sure you own proper copyright rights to photos.
1. Load image
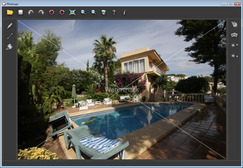
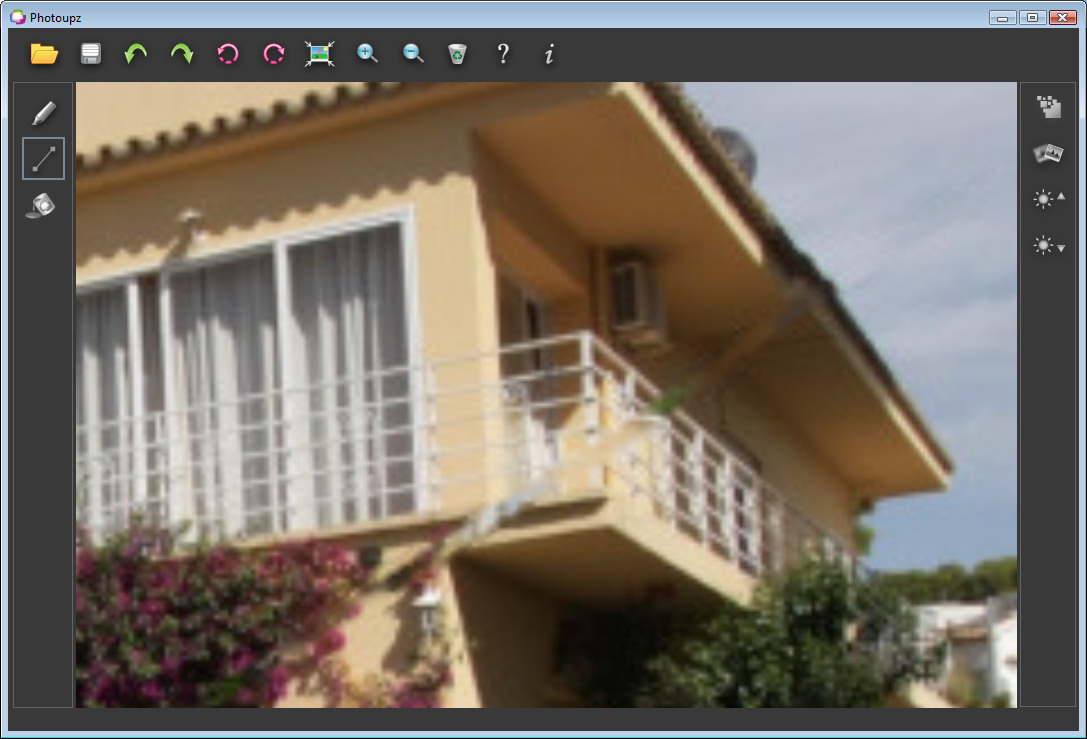
Drag'n'drop your watermarked image into Photoupz. Notice the text in the middle of image and two crossing lines stretching through the whole image. Of course, we would like to remove these lines and the text from the picture, in a way such that a human eye does not notice the mark has been removed.
2. Mark the pixels which should be reconstructed
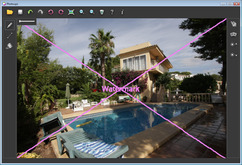
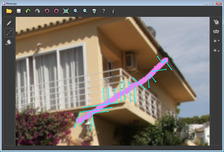
Use the marker tool (pen icon), select small marker size and draw over the watermark text and lines. Photoupz will repaint these marked pixels using texture information from surrounding image regions.
When finnished marking areas, just hit the inpaint button (color bucket icon).
When finnished marking areas, just hit the inpaint button (color bucket icon).
3. Fix the imperfect results
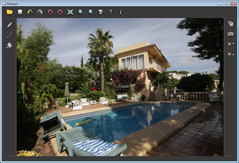
Depending on the complexity of image, the first iteration of area reconstruction might not be perfect. Mark the now smaller parts where fixing is needed and repeat the procedure.
Use our Guiding Line tool (line icon) to guide the reconstruction algorithm. Place guiding lines to mark and extend image edges such corners, sharp edges of objects, shadow edges etc., where such edges should be preserved in the reconstructed areas. The software will extend image patches along the paths of Guiding Lines - so you can properly reconstruct object edges into inpainted image areas.
Use our Guiding Line tool (line icon) to guide the reconstruction algorithm. Place guiding lines to mark and extend image edges such corners, sharp edges of objects, shadow edges etc., where such edges should be preserved in the reconstructed areas. The software will extend image patches along the paths of Guiding Lines - so you can properly reconstruct object edges into inpainted image areas.
4. Play around and repeat the process where needed
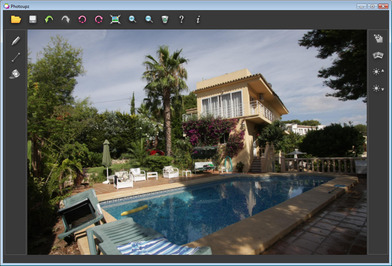
For complex scenes, sometimes the first single run of algorithm doesn't produce a perfect result. If that is the case, just repeat the process, mark the imperfect areas again and run a couple of iterations of inpainting to achieve perfect result.
With a bit of practice of using the software you will get a feel of how the program works and you'll be able to achieve better results. With a proper us of the Guiding line tool, more complex situations can be attacked and more complicated areas can be reconstructed.
With a bit of practice of using the software you will get a feel of how the program works and you'll be able to achieve better results. With a proper us of the Guiding line tool, more complex situations can be attacked and more complicated areas can be reconstructed.

